Installation of cypress is easier than any other automation tools. We can install it through npm.
It is a desktop application and it can run Windows, macOS, and Linux.
In my case, I am using windows OS.
Here I will show you a step by step process to install cypress.
Step 1:
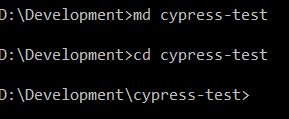
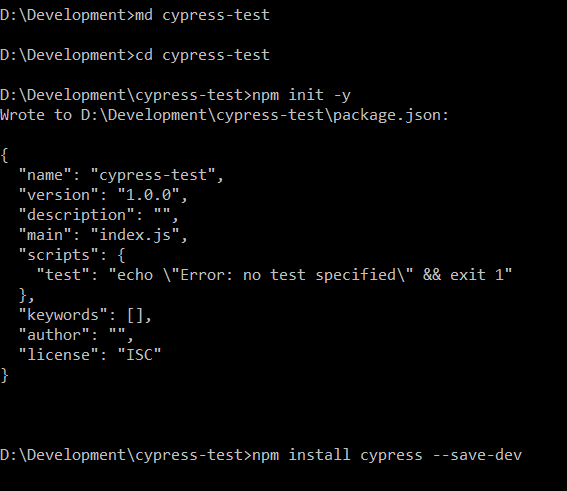
Create a folder on your drive with any name. Here I make a folder in my D:\Development\ directory named ‘cypress-test’.
Step 2:
Now open your command prompt window or windows PowerShell editor and run the following command to install cypress globally.
Note that you can install cypress globally or dev dependency.
Note that you can install cypress globally or dev dependency.
To install cypress globally run the following command.
npm install cypress -g
To install cypress locally you have to move to the directory where you want to develop the cypress script.
In my case, I just move to the directory D:\Development\ named\cypress-test’
The command is,
Run the following command to initiate a package.json file.

Now run the npm command to install cypress.
Now Cypress will start to install.

Note that I am installing cypress version 4.4.0.
This is the latest version when I am writing my post.
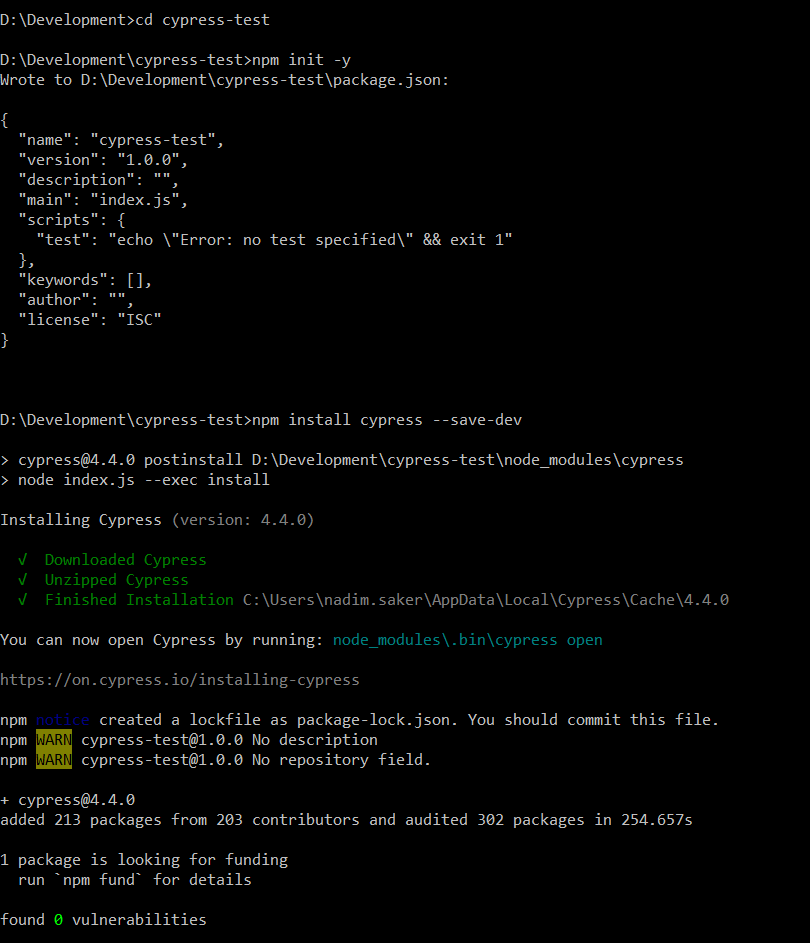
Now cypress has successfully installed and we are ready to write our first cypress test.
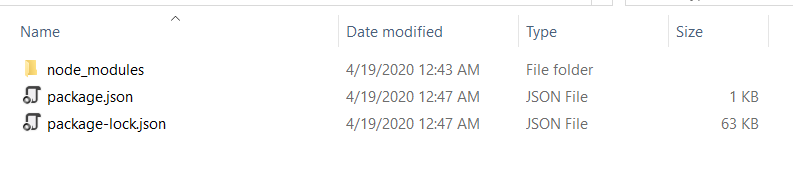
If you go to the cypress-test folder you see the following folder and files.
In the next post I will show how we can make our cypress project and write a test script and execute.
No comments:
Post a Comment