Showing posts with label EtoE Testing. Show all posts

Monday, September 28, 2020

Cypress: How to handle browser-based authentication pop up dialog in Cypress

Five years ago I have written a blog on how to handle browser-based authentication for selenium webdriver.


Now it is for cypress.


Cypress has come with a very easy solution.


A very simple syntax to handle the browser-based authentication,

If we have a username and password and the URL then the cypress command will be 


cy.visit(app_URL, {auth:{username:appUserName, password: appPassword}})


For example, we have

username : abc

password : abc123

URL : xyz.com


Then cypress command will be


cy.visit('https://www.xyz.com', {

auth: {

        username: abc,

        password: abc123

      }

})


There is an alternative way that cypress suggested,


cy.visit(http://username:password@domainName.com)


Note that we have a special character colon “:” between username and password.


For the above example,


Cypress command will be,


cy.visit('https://abc:abc123@www.xyz.com')


That’s all for now. We will discuss more on cypress in my future post.

Thank you. 

Happy automation testing with Cypress!

Saturday, September 12, 2020

Cypress: How to test a web application using Cypress

In the previous posts, we have discussed various features of cypress and the installation procedure. 

Here we will see how a sample test can be written and execute the test using a  cypress test runner.


Test case: Search with the text cypress on Google.


Steps:

  1. Go to Google.com

  2. Type the text ‘cypress’

  3. Click on the Search button

  4. Verify the text “JavaScript End to End Testing Framework | cypress.io”


Now start automating the script.


Create a project structure: 

  1. Open the folder using the visual studio code that I have created in my last post in order

to install the cypress application. Note that I am using visual studio code as the editor for scripting.
You can use any editor that you feel comfortable with.

  1. Go to Terminal->New Terminal to open a new terminal.


  1. Type the following command to create a new project structure.

npx cypress open


  1. It will create a cypress project structure. 


  1. Click the OK button and the project structure has been created 

  2. Cypress Test runner window is now opened and click the close button to close the window.

  3. The project structure looks like the following.


  1. Now expand the cypress folder and see the structure.


  1. There are four folders.

    1. fixtures: All the test data files are there,

    2. Integration: All the test scripts are there.

    3. Plugins: cypress plugins are there.

    4. Support: all the customized commands are there.

    I will discuss the project structure in a separate post.


Writing Test:

Now come to write the cypress test. 

  1. Expand the Integration folder and note that a folder named “examples” are displayed.


  1. Now delete that folder as it has some sample scripts and it is not needed now.

  2. create a new test file name cypress_test.spec.js


  1. Write the following script 


Note that we use describe..it blocks. As cypress is using mocha by default, it uses this block.

cy.visit() : to visit a page 

cy.get(): for getting element location or searching an element

cy.get().click() : to click an element

cy.contains(): to check the text available on the page.


We will discuss more details on cypress API in later posts.


  1. Save the file.


Run the test using TestRunner:

  1. Open a terminal window

  2. Type the following command in the terminal.

npx cypress open


  1. It will open the Cypress test runner.


Now click on the cypress_test.spec.js file and it will start running.


Run the test in the terminal:

  1. If you want to run the cypress test in terminal, then just open the terminal and type the following

command:

npx cypress run


  1. The test will start running in headless mode and display the result.


That’s all for now. We will discuss more on cypress in my future post.

Thank you. 

Happy automation testing with Cypress!

Sunday, April 19, 2020

Cypress: How cypress can be installed in our windows machine

In our previous post, we have discussed various features of our latest automation tool cypress.
Installation of cypress is easier than any other automation tools. We can install it through npm. 
It is a desktop application and it can run Windows, macOS, and Linux.

In my case, I am using windows OS.

Here I will show you a step by step process to install cypress.

Step 1: 
Create a folder on your drive with any name. Here I make a folder in my D:\Development\ directory named ‘cypress-test’.

Step 2: 
Now open your command prompt window or windows PowerShell editor and run the following command to install cypress globally. 
Note that you can install cypress globally or dev dependency. 

To install cypress globally run the following command.
npm install cypress -g

To install cypress locally you have to move to the directory where you want to develop the cypress script.

In my case, I just move to the directory D:\Development\ named\cypress-test’
The command is,


Run the following command to initiate a package.json file.


Now run the npm command to install cypress.


Now Cypress will start to install.


Note that I am installing cypress version 4.4.0.
This is the latest version when I am writing my post.


Now cypress has successfully installed and we are ready to write our first cypress test.
If you go to the cypress-test folder you see the following folder and files.


In the next post I will show how we can make our cypress project and write a test script and execute.

Saturday, April 18, 2020

Cypress: An open-source front end tool for an end to end testing

Nowadays end to end test is becoming popular and tester are very much fond of these tools. 
In that case, Cypress is one step ahead due to its first execution of the test script. Scripts are written in 
javascript and no runtime server needed. 

It is an open-source and developer-friendly tool and builds from scratch and no selenium dependency.

According to cypress, it has the following features that make it different from other tools. 
  • For every step, it takes a screenshot. When you hover it shows a recorded screenshot.
  • It can automatically rerun when any changes happen in the script.
  • It has spies, stubs, and clocks like unit tests.
  • Since it does not use any selenium or web driver, tests result are consistent, reliable and flake-free.
  • Debugging is user friendly.
  • No waits needed. It can automatically start and stops when needed.
  • Network Trafic can be stubbed when needed.
  • Screenshot can be taken automatically when scripts fail. Also, video can be recorded for the whole steps.

In my next post, I show how cypress can be installed and a simple test can be run. 

Welcome to the Cypress world!

Monday, August 15, 2016

Protractor: How to check npm, node and protractor current version and install the new update

Sometimes we need to know the current version on npm, node and protractor. Since the community is releasing the latest version continuously, we have to install those updated release frequently.

The following commands are needed to check the version and install the latest one. For this we need to open a command prompt and write the following code command.

npm:

  • Version

npm -v

  • To install the latest version: npm install npm@latest –g

Now check the new version: npm –v

Node:

  • Version: node –v
  • To install the latest version:
    • Just go to Node JS site and install the latest version.

Protractor:

  • Version: npm protractor –version
  • To install the latest version:
    • npm install protractor@latest -g

Thursday, July 14, 2016

Protractor : How to generate single report for test suites

In order to generate aggregate reports we need to use consolidate option.

We will use our Suite projects that was develop through our post on how to implement suites in protractor.
We implement consolidate option on config.js file here.

Step 1 : Open the project and implement protractor-jasmine2-html-reporter package by using this post.

Step 2 : Open config.js file and write the following script and implement onPrepare() function.

image

Note that all the codes of onPrepare() function comes from the previous post except consolidate option. We make consolidate as true.

Step 3 : After running the script we see separate suite names at the report and all the suites reports are generate in a single html file.

image

Step 4 : If we make consolidate as false and run the script we see reports are generated in two separate files for two suites.

image

After running script,

image

We see reports for only one suite.

image

Step 5 : Now add another option consolidateAll and make it true.

image

After running the script we see all the suite report in a single file.

image

That’s all for now.

Happy end to end testing using Protractor!!!

Thursday, July 7, 2016

Protractor : Implementing different options for HTML reporter

In our last post we have seen that how we can generate HTML report using HTML reporters. Here we will see different options for it. 

In this post we will use our sample projects that was built in our previous post.

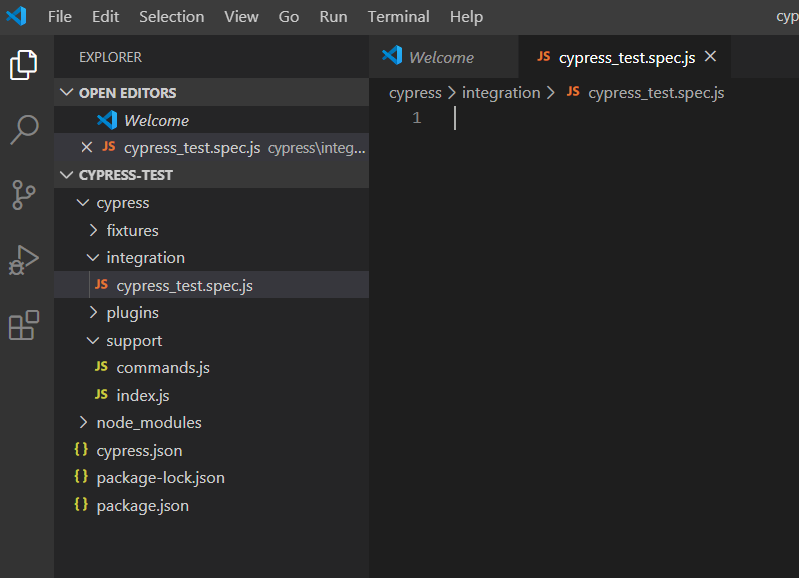
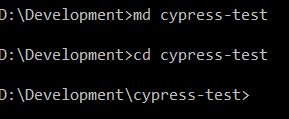
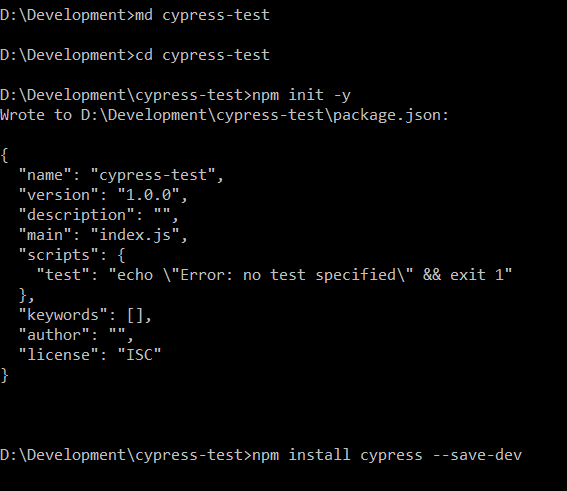
Step 1 : Open the project.

Step 2 : Now open config.js file. Implement the following options.

Option 1 : Report path

We can define our own report path where we store the generated report. For this we need to write the following script in onPrepare() function,

image 

Here,

jasmine.getEnv().addReporter(): It create report after executing the script.

Jasmine2HtmlReporter() : It generate HTML report.

savePath: Report folder where report is generated. User can define his own path.

Option 2 : Screenshot

We need to take screenshot of every page or the result pages. We can add screenshot option at onPrepare() function. Screenshot stores in a default folder named “screenshots”. We can define screenshot folder name instead of default name. We need to write the following code in the onPrepare() function.

image

Here ‘images’ is the folder name.

If you run the script you see that screenshot is created at ‘images’ folder.

image

Option 3 : Screenshot optional

We can make the screenshot taking optional. We can make takeScreenshots to false to stop taking screenshot. Default option is true.

  image

If you run the script it does not take any screenshot.

image

Option 4 : Screenshot only for failure cases

We can take screenshot only for failure cases like one of the test case fails and then it takes screenshot. In that case we need to make takeScreenshotsOnlyOnFailures to true.

Note that if you have takeScreenshots option as false, you have to make it true otherwise takeScreenshotsOnlyOnFailures option will not work.

image

Now modify the test script so that test can fail. Now run the script and inspect that screenshot is created and for failed test cases.

image

Since default value of takeScreenshotsOnlyOnFailures option is false, so screenshot will be created by default.

Option 5 : Screenshot File name

We can fix the screenshot file name using fixedScreenshotName option to true. Name of the screenshot will be the test case name that we define after it clause.

image

image

After running the script we see screenshot is created and the name of screenshot file is the test case name. In my case, this is 'should add two numbers'.

image

Note that default value of fixedScreenshotName option is false.

Option 6 : File prefix of Report file name

filePrefixWe can modify the report file name instead of using its default name htmlReport.html. We can use prefix with the file name. For this we have to add filePrefix option and mention the prefix name as value. In my case I use the “Addition’' as prefix.

image

After running the test we see html report is created with the prefix “Addition’'.

image

Option 7 : Consolidate and ConsolidateAll

If you have multiple test suites and you want to create separate reports for every test suite then these option will help you. We have a separate blog post coming after this post.

Step 3 : Now config.js file will look like the following,

image

Step 4 : Now open terminal window and run selenium server.

image

Step 5 : Open another terminal window and run the script.

image

Step 6 : Note that script executes and report file and screenshot are created according to option 1 to option 6.

image

Now double click on the Addition.html file and see the result.

image

You can also open it through a browser.

image

Clicking on right side screenshot image you will see the screenshot in browser.

image

That’s all for now.

Happy end to end testing using Protractor!!!

Cypress: How to handle browser-based authentication pop up dialog in Cypress

Five years ago I have written a blog on how to handle browser-based authentication for selenium webdriver.   Now it is for cypress. Cypress...